Producer


Why Musicians Need To Label Their Songs Properly? An iTunes Tutorial
Many artists are not 100% clear why labeling their songs properly is important. When sharing music with friends, fans and potential business connects, you want to make sure that when the song is in their possession, they know 2 things:
You have to remember folks do not want to work or re-label your work for you. You as the artist or your team, should make sure all of your music is properly labeled so that it can be properly identified, enjoyed and/or used for business purposes. Example: Say your music gets around to a music supervisor and they need to contact you (the artist) to cut you a check for $10,000 as pay to use your song in an upcoming movie. Do you think the music supervisor will waste extra time on your song that is not labeled properly if they have another similar song that is properly titled and labeled with the artist info? Exactly. So seriously, no more of the “track01” or “newsong5” labels and that’s it. No more of that. Take time, label your music properly and keep it moving. It’s important. So how do you label your songs properly? Check below:
INSTRUCTIONS: WATCH THE VIDEO
OR
TRY THESE WRITTEN STEPS
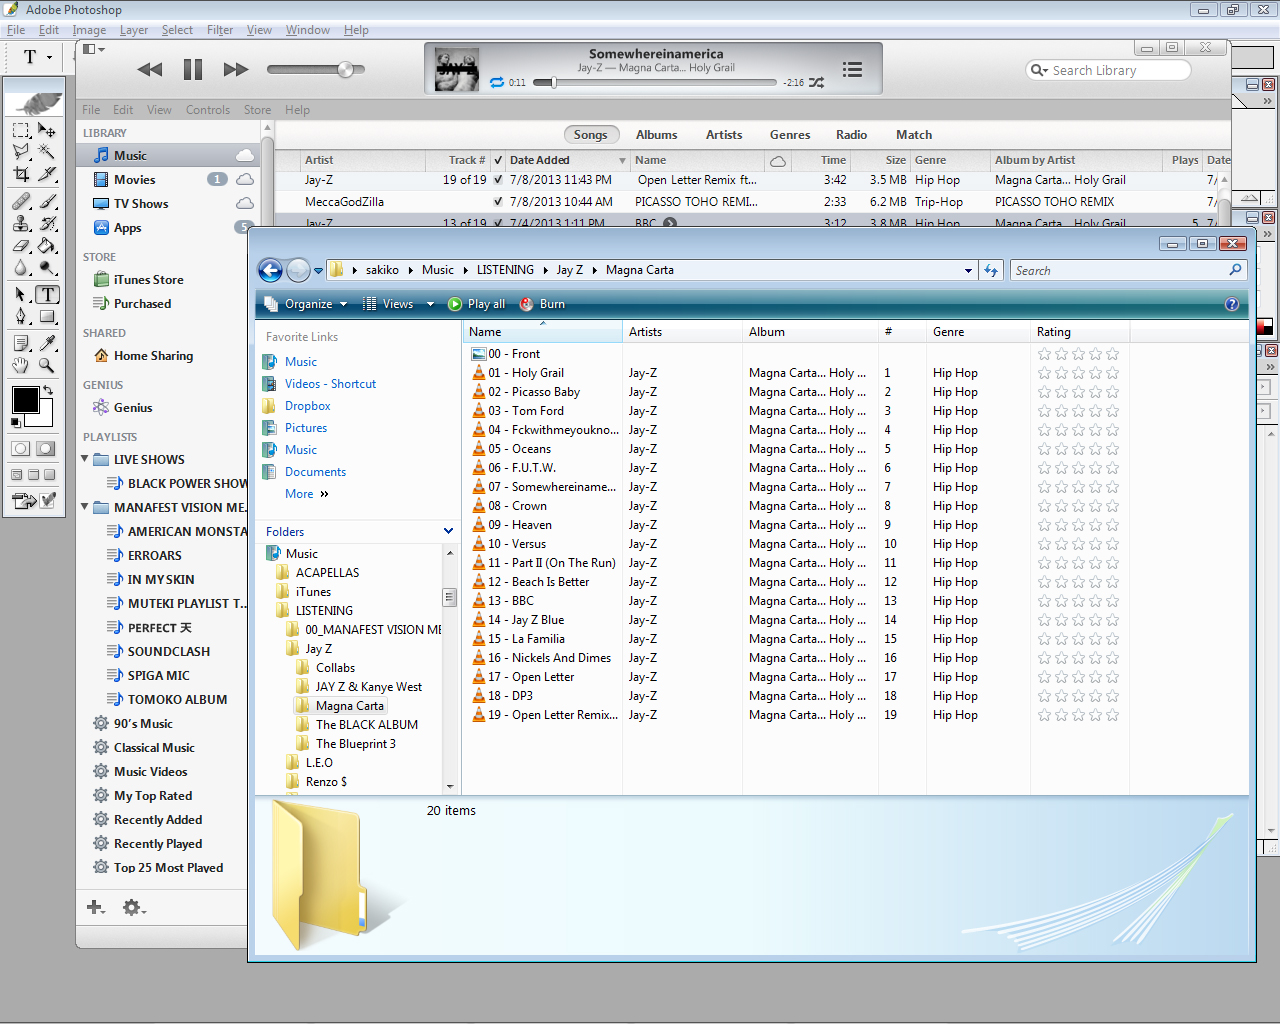
1. Compile all your songs into 1 folder. wavs or aiff files.
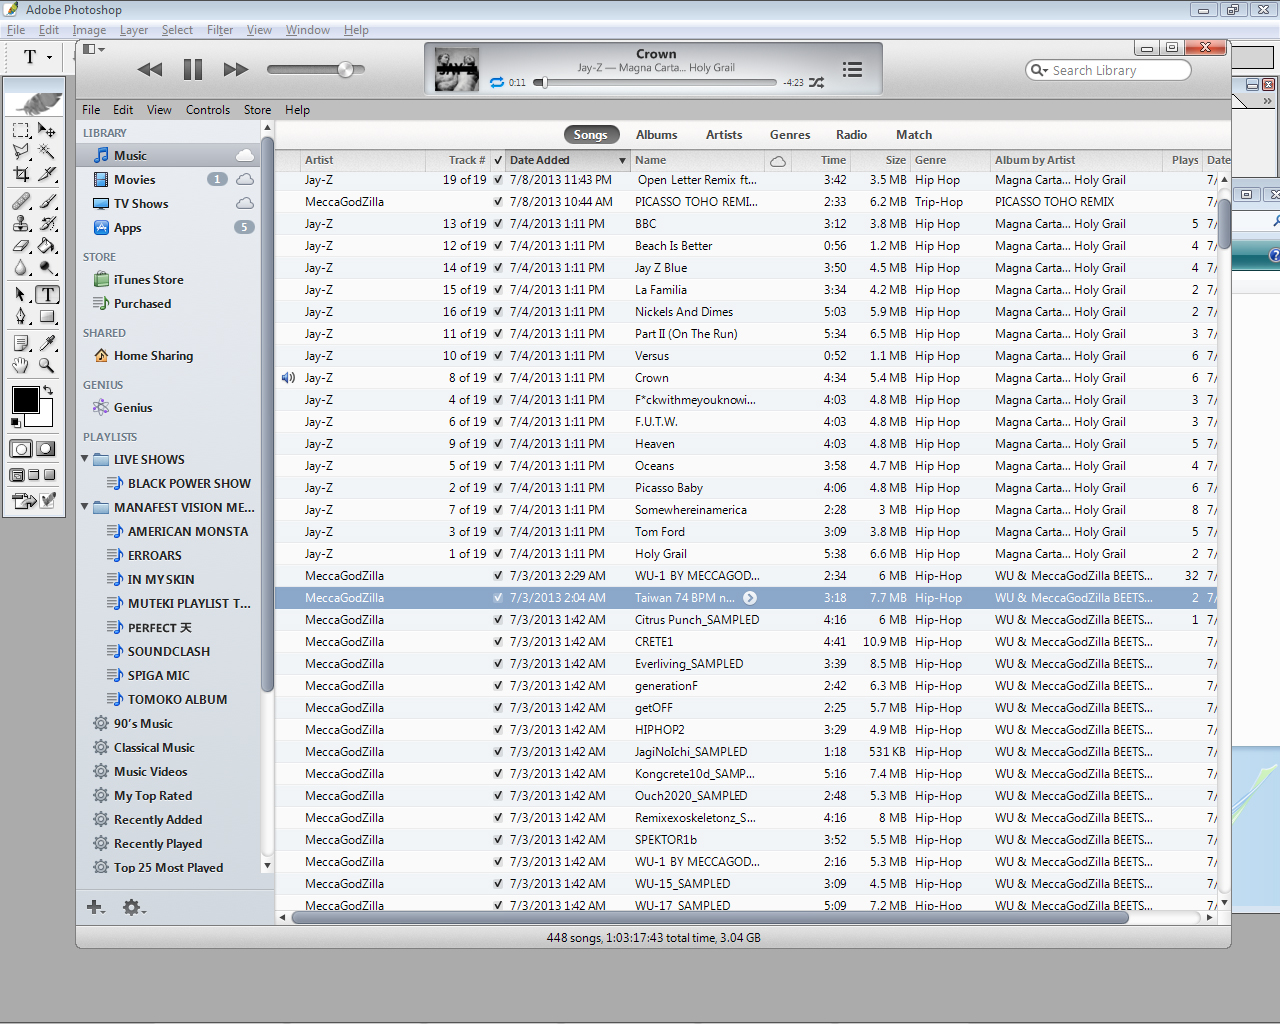
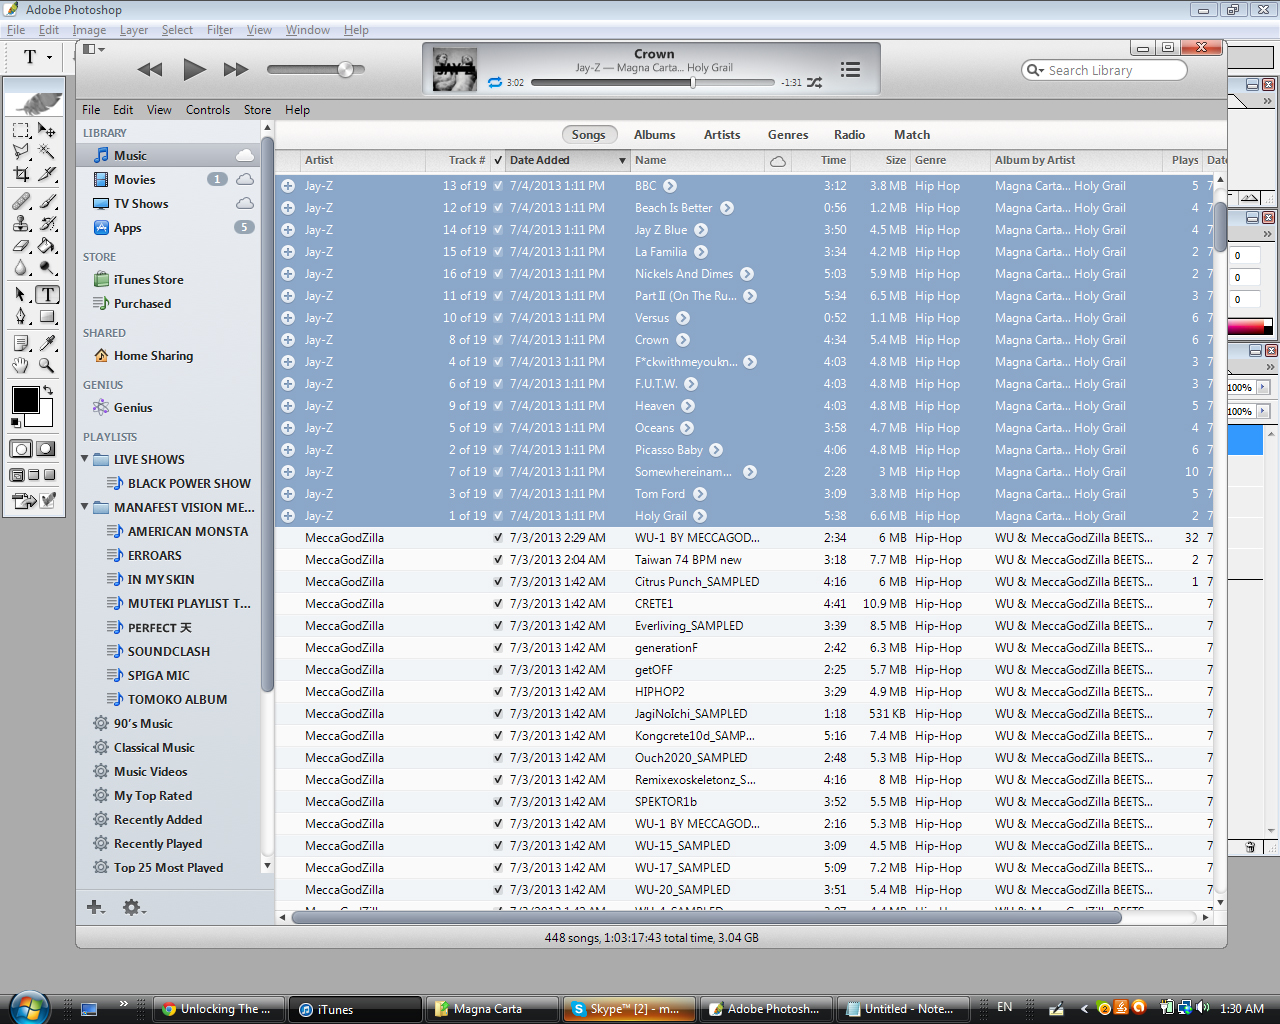
2. Open iTunes. Click on Music in the upper left corner. Then make sure to click “Songs” (it’s in the center of the iTunes Song Navigation Area)
3. Select all the files from your music folder and drag them into the “songs” field on itunes

4. Click “Date Modified” so that the tracks you just dragged in are all lined up at the top and grouped together. For this example I have the Jay-Z Album there.
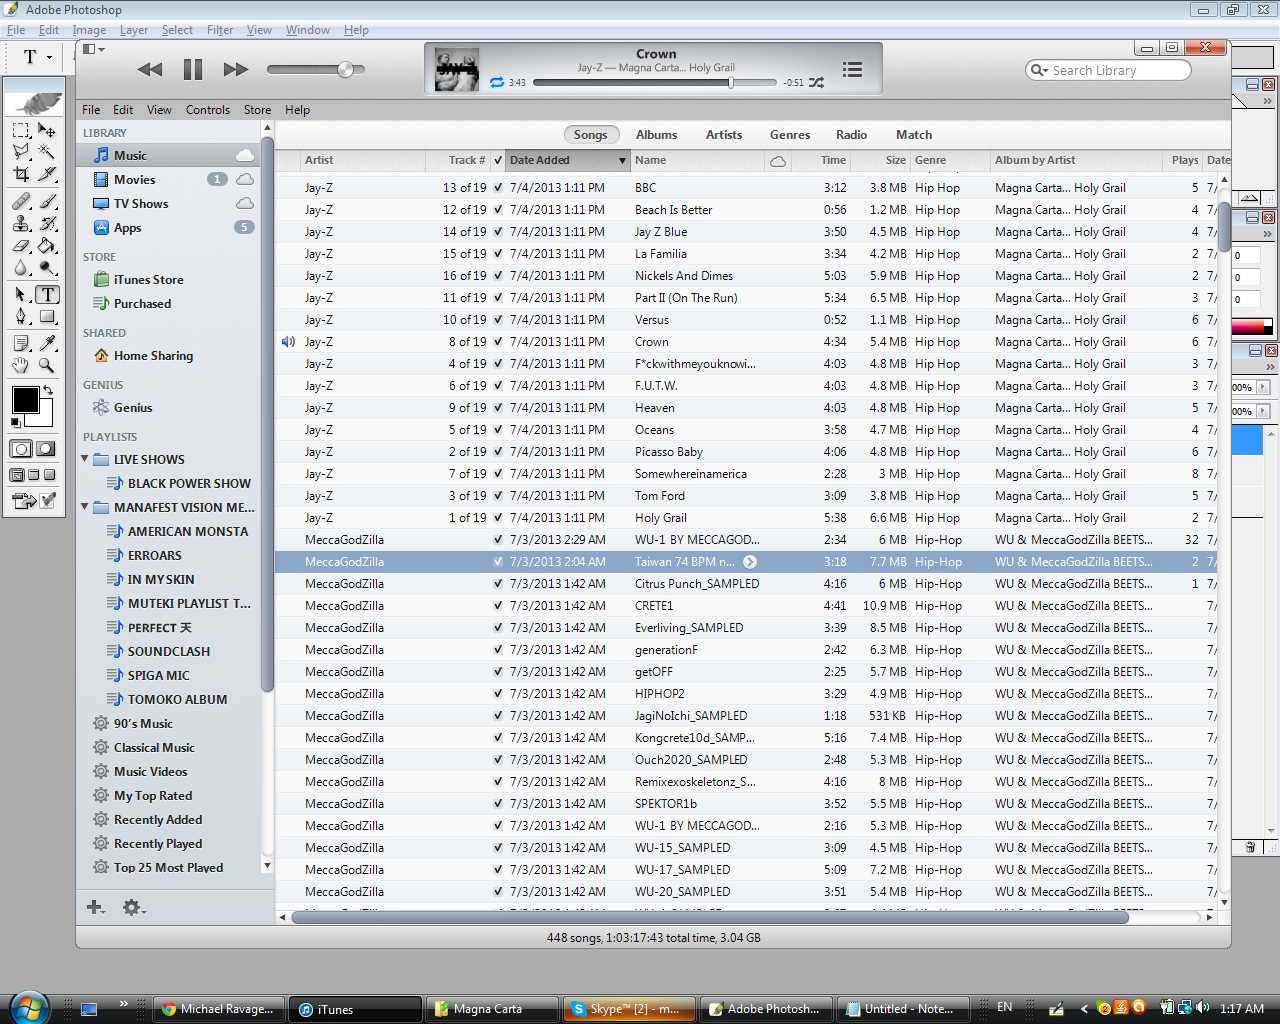
5. Highlight all of the tracks you just imported. click the top most track, hold the shift key down…then click the bottom most track and that will highlight all the tracks in 1 shot
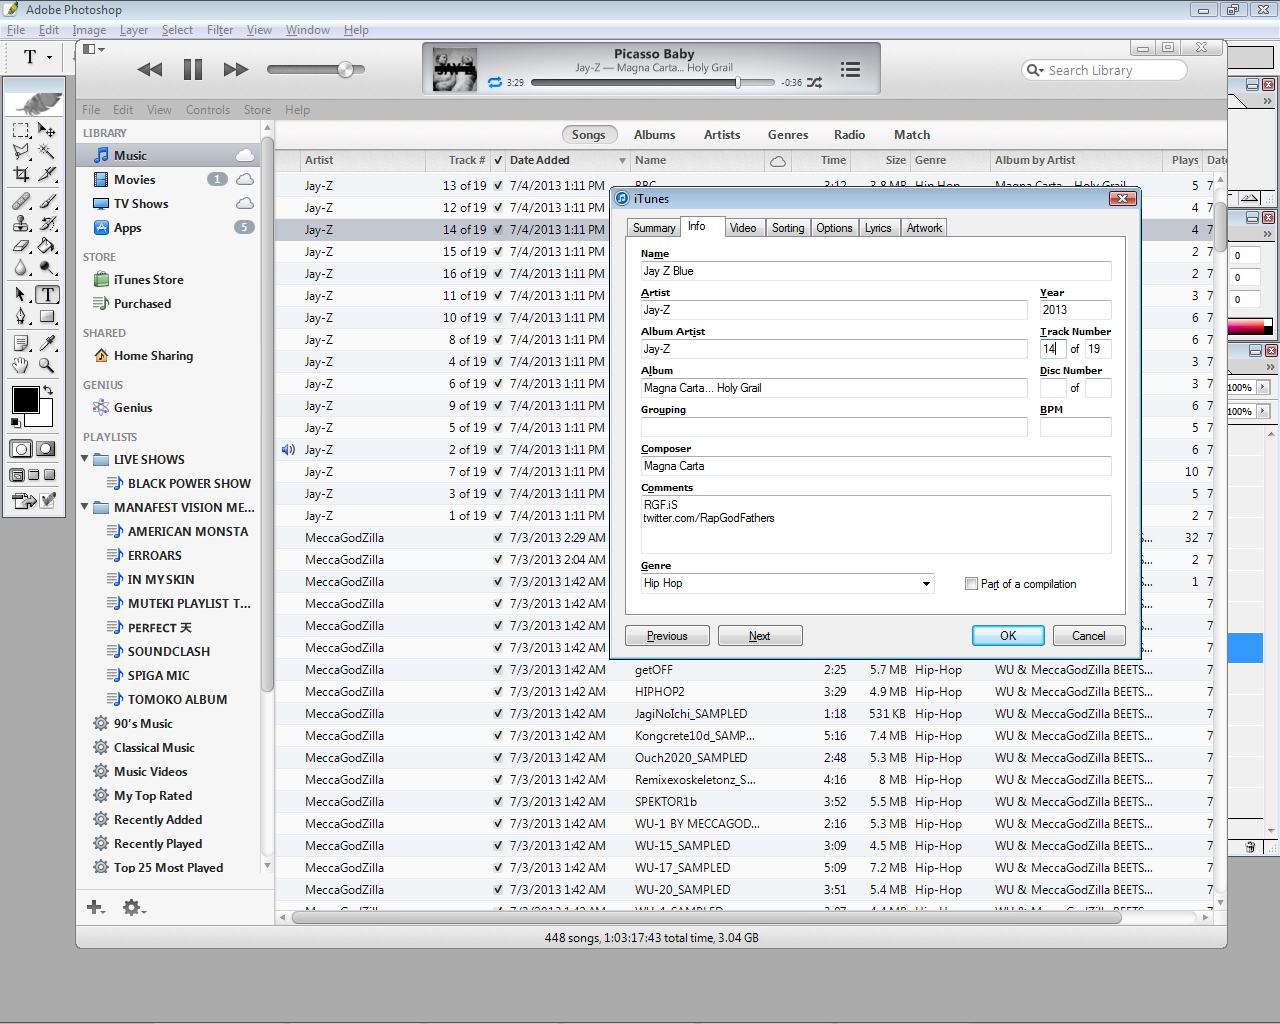
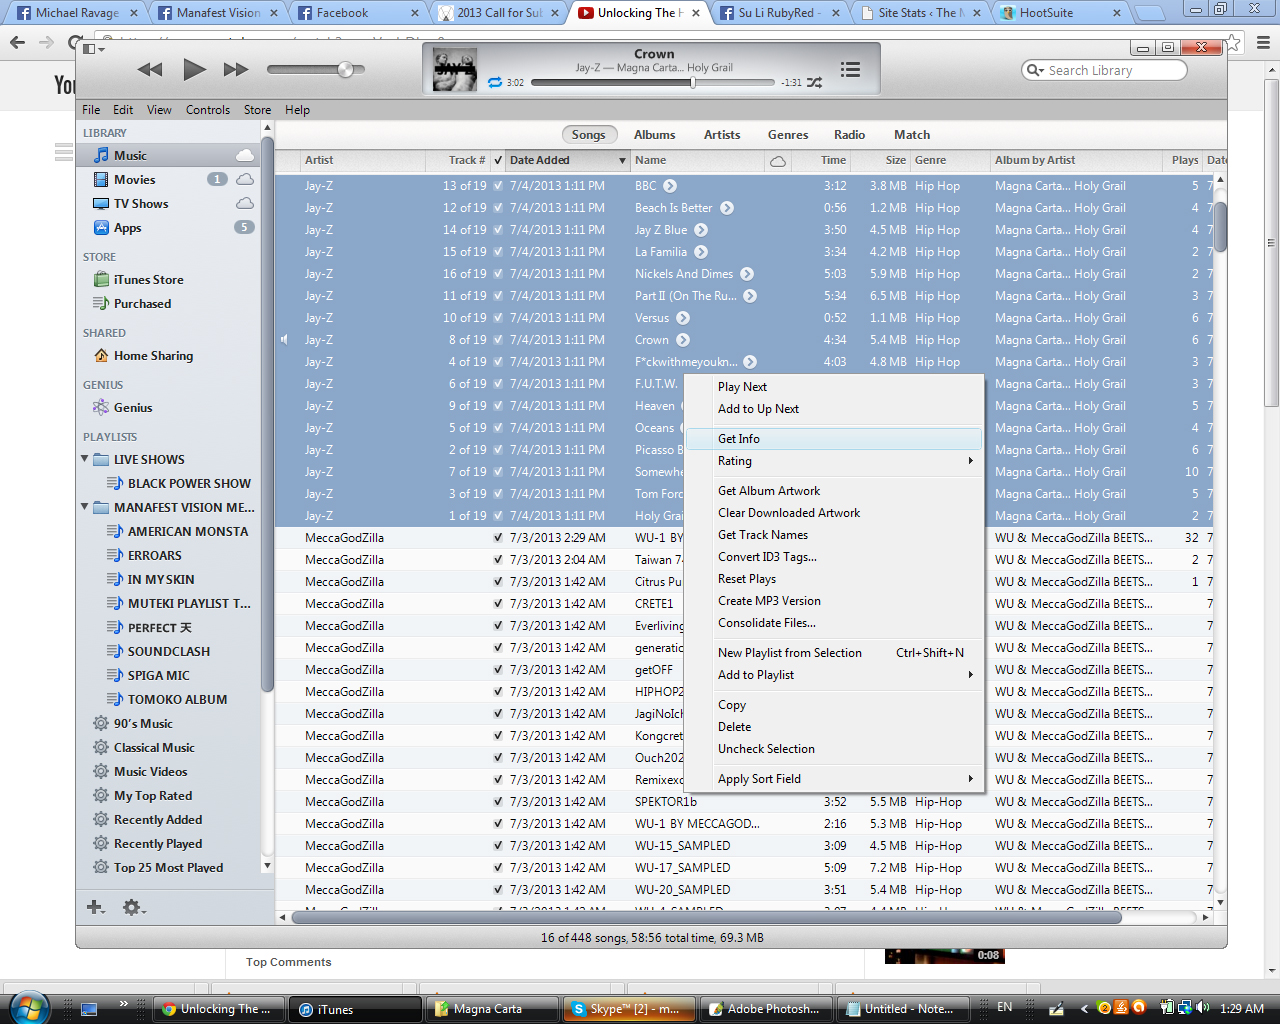
6. Right click on the highlighted tracks and go to “Get Info”
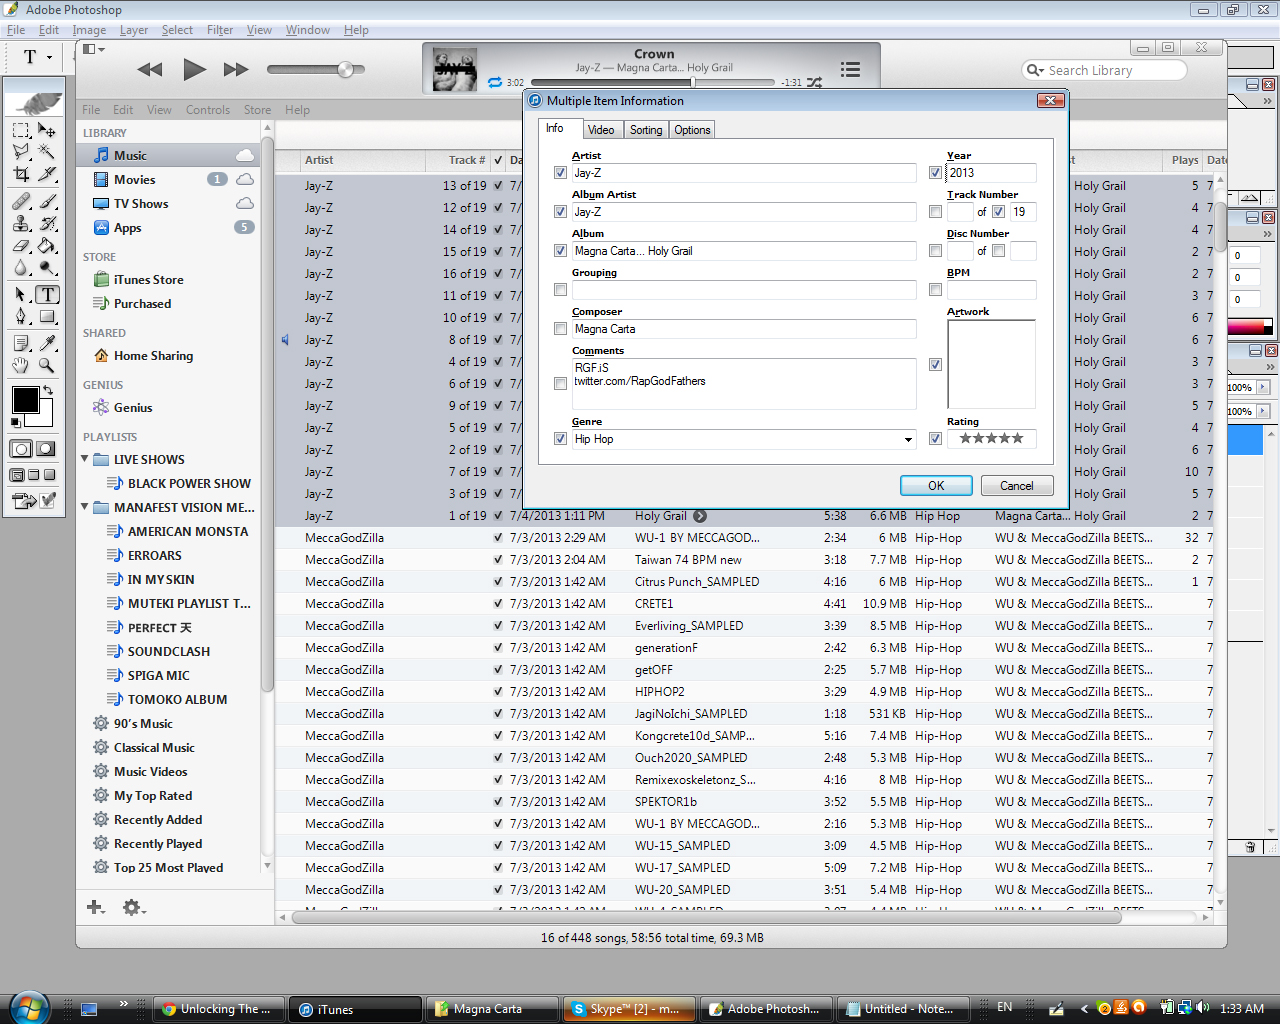
7. Make sure to fill in the names with the proper capitalization and spelling…and check the boxes next to the fields you are
typing in. I recommend you fill out and check the following fields
Artist
Album Artist
Year
Album
Genre
Artwork
Track Number….Check only the 2nd box..the 2nd box’s number should be equal to the total number of songs in the project!
Rating (always put 5 stars to pat self on the back..early!)
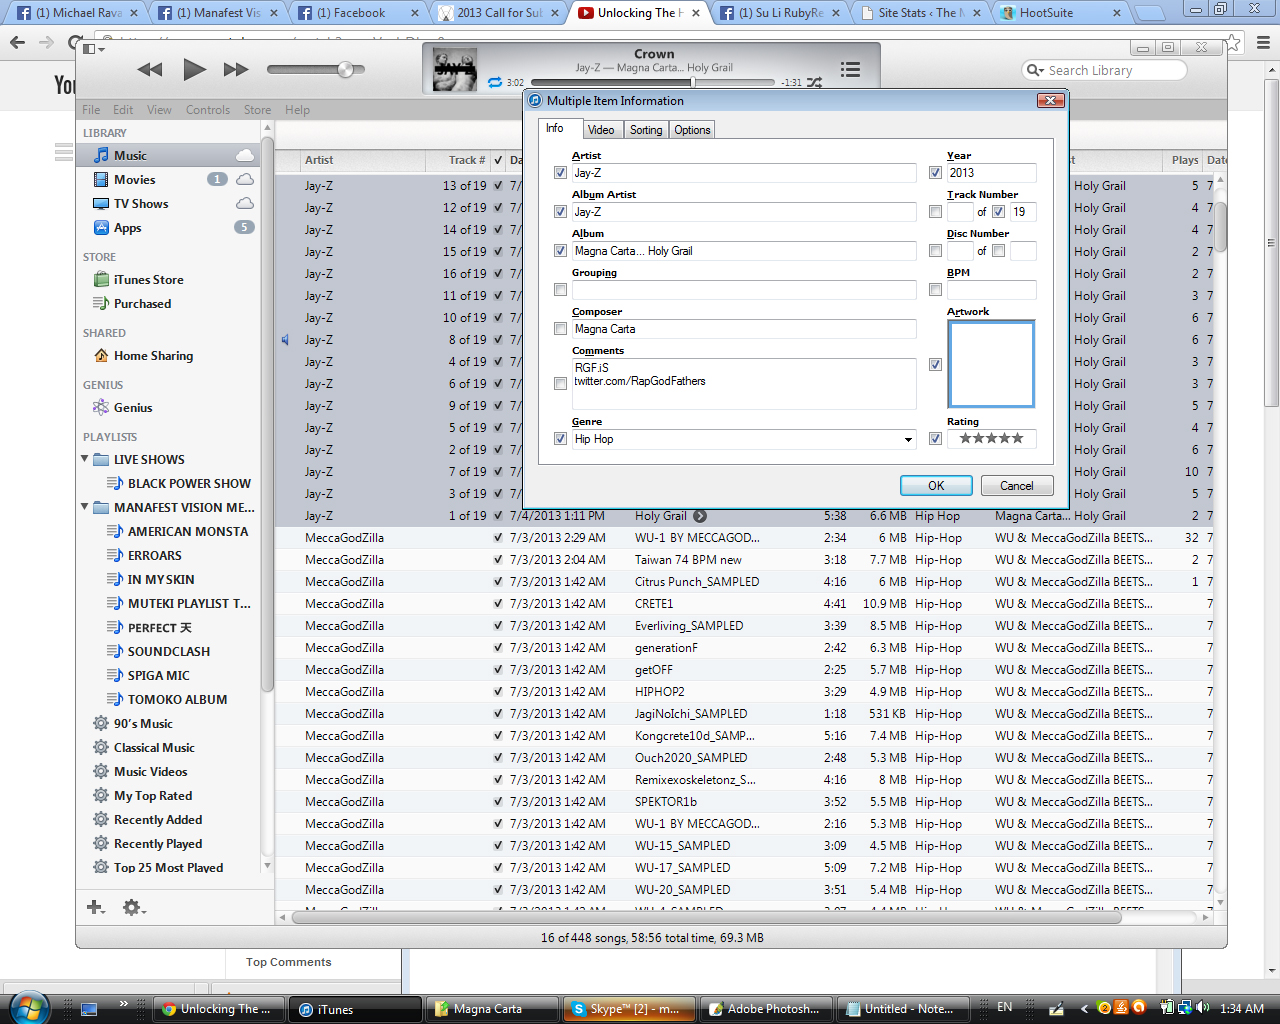
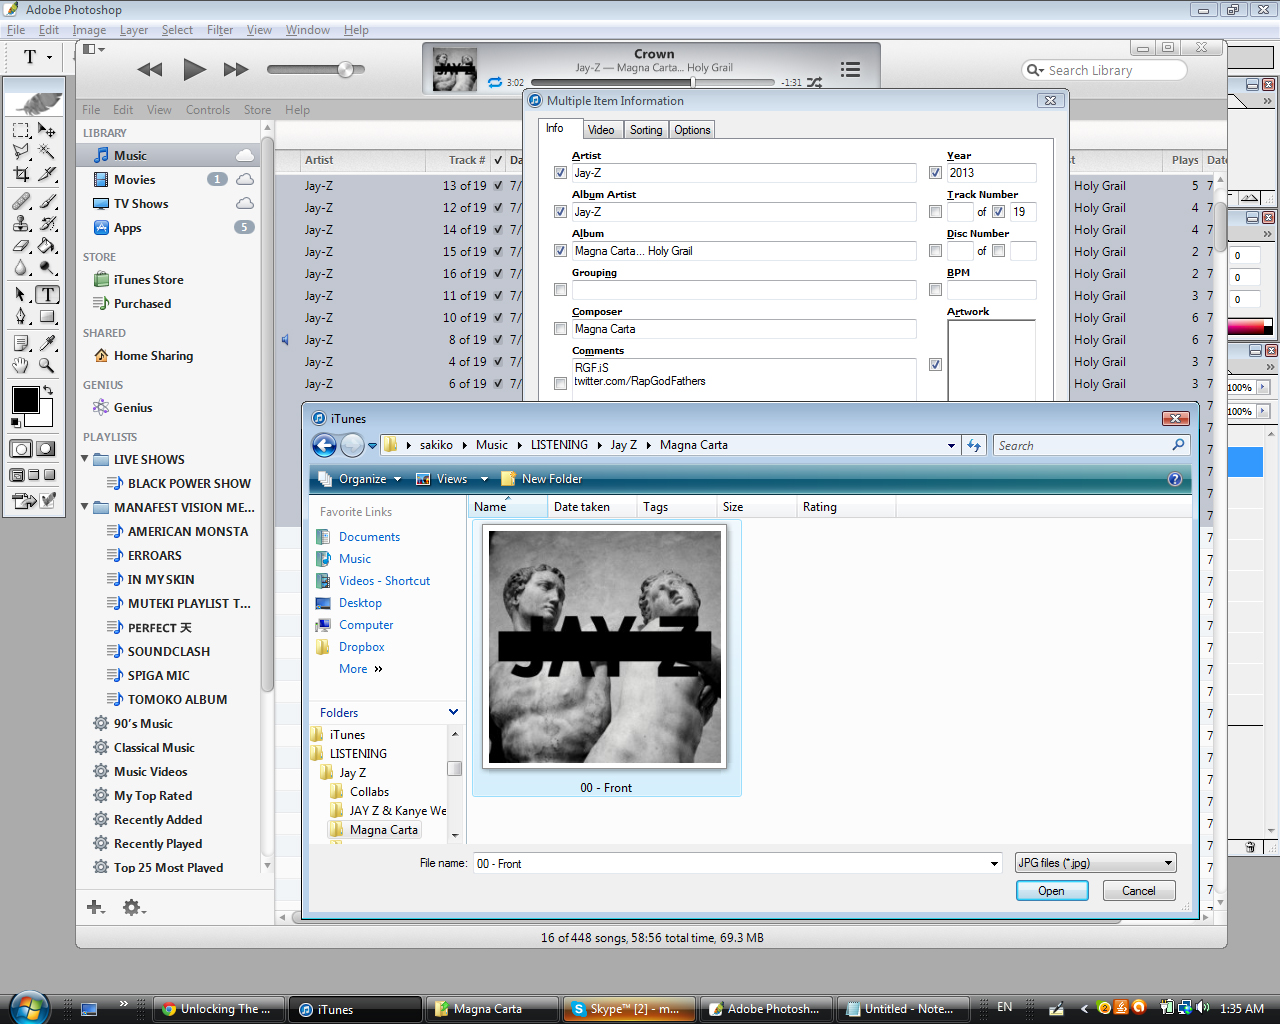
8. Make sure the Artwork box is checked off. Now double click the blank space so that you can upload the artwork to all the MP3s.
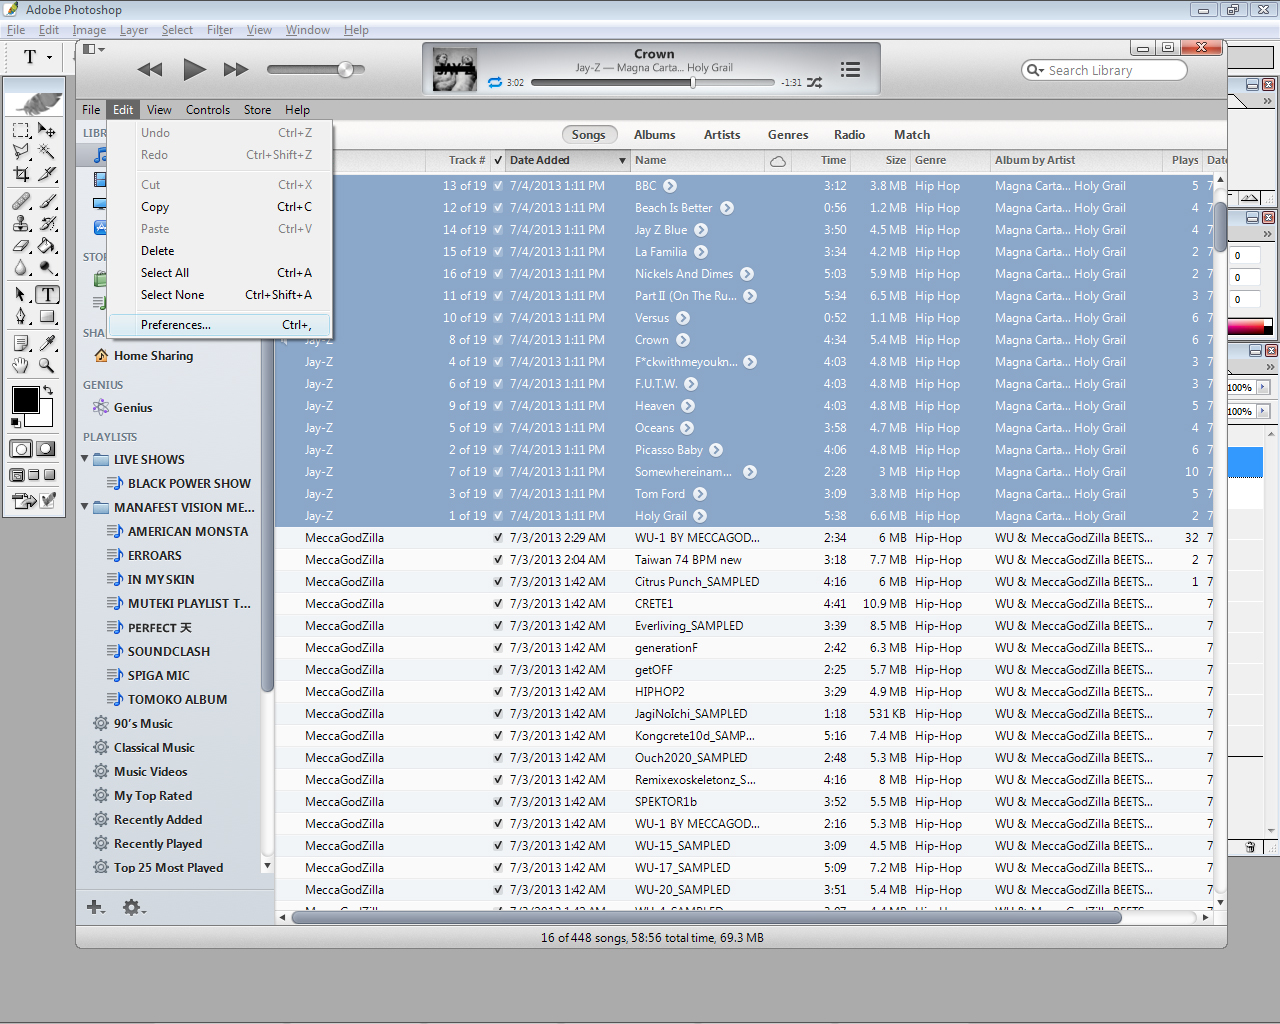
9. CHANGE THE WAVs to MP3. Go to Edit>Preferences>Import Settings (click that lil button)>…

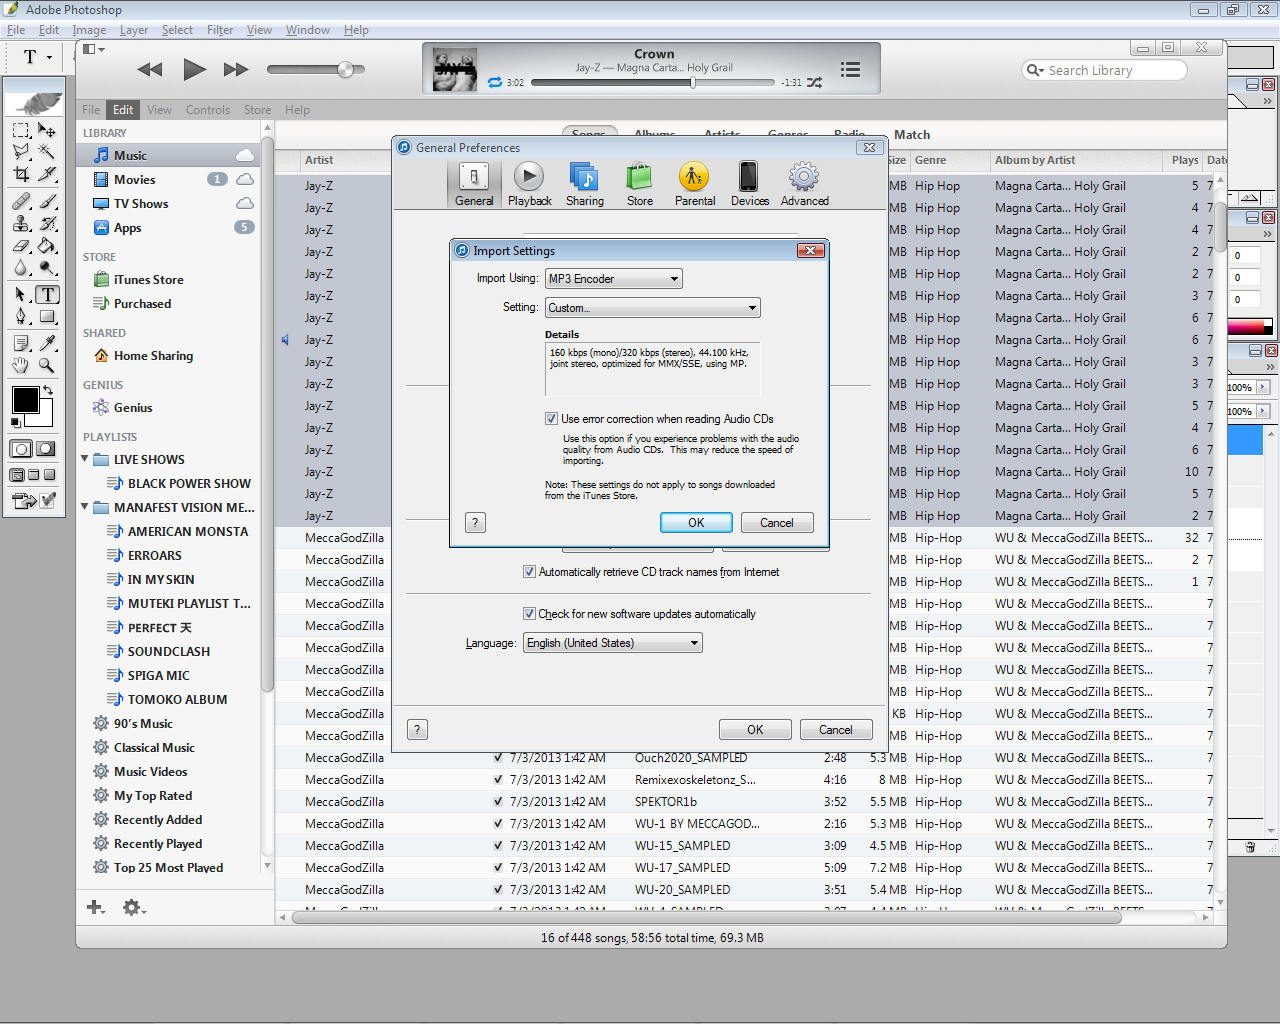
10. From the drop down menu ..change the Import Settings to MP3 Encoder…then change the setting to be the highest quality…Click “OK”…then click “OK” to accept the preferences.
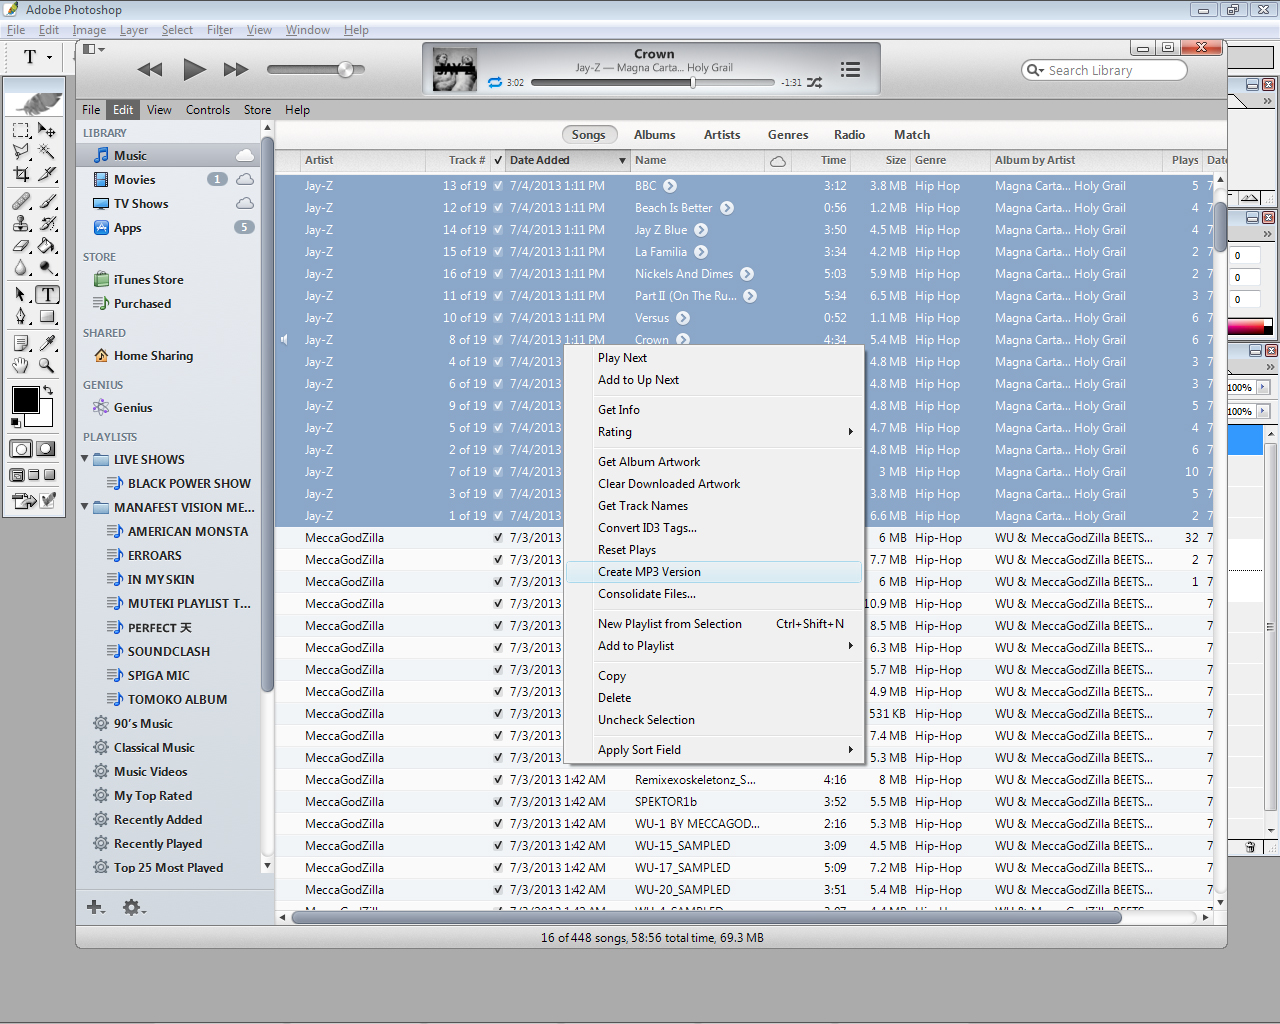
11. START CONVERTING…Now make sure all tracks are highlighted…then.. RIGHT CLICK on the tracks and choose “Create MP3 Version”
All of the MP3s will be saved into iTunes…after the converted in completely done…you can remove the wavs out of iTunes. If you don’t know where the MP3s are saved..you can go back into preferences and click on advanced and the computer will show where the MP3s are being saved..usually it’s in the Music Area via My Docume
15. Go to each track…Right CLick and click Get Info…then just number each track 1 by 1….so for Song JayZ Blue it is 14 of 19..so I gotta make sure it says so in the Track Area… u will have type 14 …it has 19 listed there automatically because of the info is Step #7 Above. So if do that for all ur tracks…to save time u can click “Next Or Previous” and that will save u from Right Clicking and going to Get info each time.